Chicken Curry Technique Timeline
Click through each phase to understand the critical technical steps that separate a flat dish from a deep, complex sauce.
Key Takeaways
- 🔥 Blooming spices in hot fat releases essential oils, making flavor up to 3x more potent.
- ⏱️ The "bloom" phase requires patience; rushing results in bitter taste.
- 🍗 Sear chicken first to lock in juices and create a golden crust.
- 🌡️ Low and slow simmering is non-negotiable for tender meat.
- ⚖️ Balance tomato acidity with fat to prevent a sharp finish.
Most home cooks think the secret to a great chicken curry is just adding more heat or expensive ingredients. It isn't. The difference between a flat, one-note dish and a deep, complex sauce comes down to timing and temperature control. If your oil isn't hot enough when you add the aromatics, the flavors stay raw. If you rush the simmering phase, the meat remains tough and the spices don't meld. This guide breaks down the exact technical steps that turn basic ingredients into restaurant-quality food.
Key Takeaways
- Blooming spices in hot fat releases essential oils, making the flavor up to three times more potent than adding them dry.
- Using a masala paste rather than whole spices ensures even distribution and deeper integration into the sauce.
- The "bloom" phase requires patience; rushing this step results in a bitter, undercooked taste profile.
- Low and slow cooking is non-negotiable for tender chicken and rich gravy consistency.
- Acidity from tomatoes must be balanced with fat to prevent a sharp, sour finish.
Understanding the Foundation: Fat and Heat
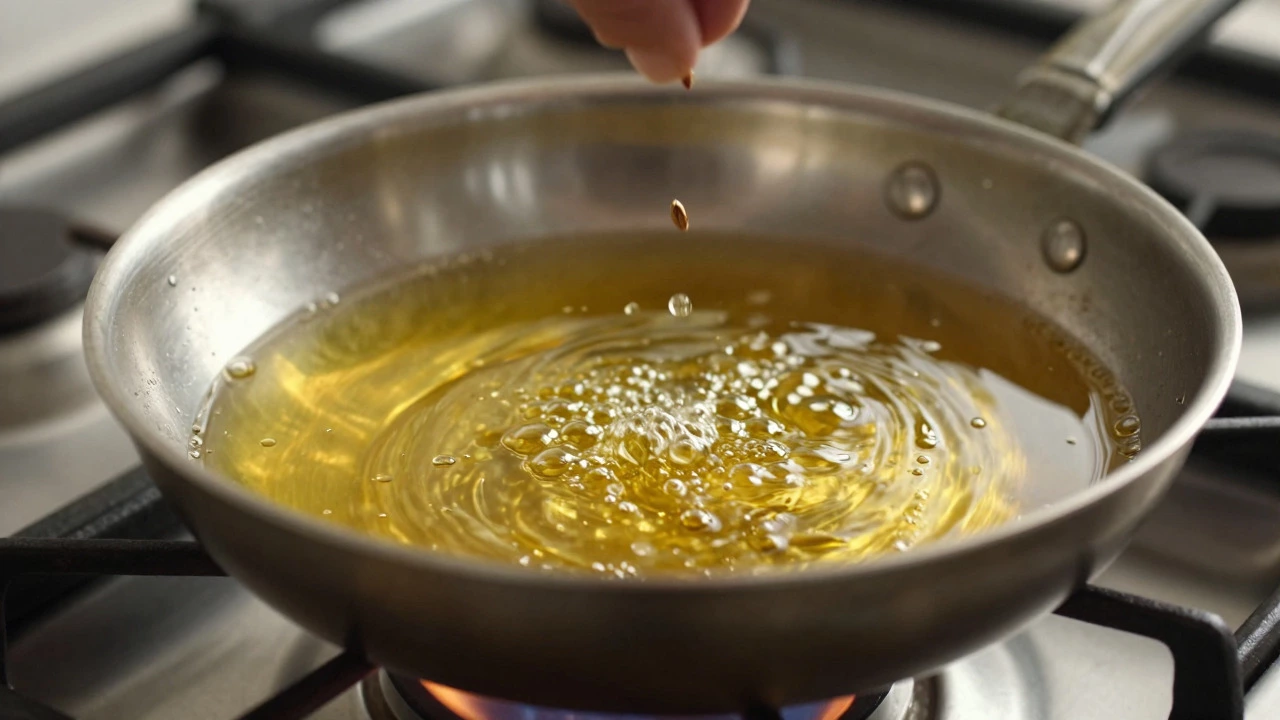
Everything starts with the cooking medium. You need a high smoke point oil like ghee or mustard oil. Ghee adds a nutty depth that neutral oils lack, while mustard oil provides an earthy pungency common in South Indian preparations. The critical attribute here is temperature. Your oil should shimmer but not smoke heavily. When you drop a single cumin seed into the pan, it should sizzle immediately. If it sinks silently, your oil is too cold. Cold oil prevents the Maillard reaction on the surface of the aromatics, leading to a muddy texture rather than a crisp, fragrant base.
Why does this matter? Spices are hydrophobic, meaning they dissolve in fat, not water. By introducing them to hot fat first, you extract their volatile aromatic compounds. This process is known as blooming. Without this step, your curry tastes like a soup with floating spice particles instead of a cohesive sauce where every spoonful carries the same intensity of flavor.
The Masala Paste: Where Flavor Lives
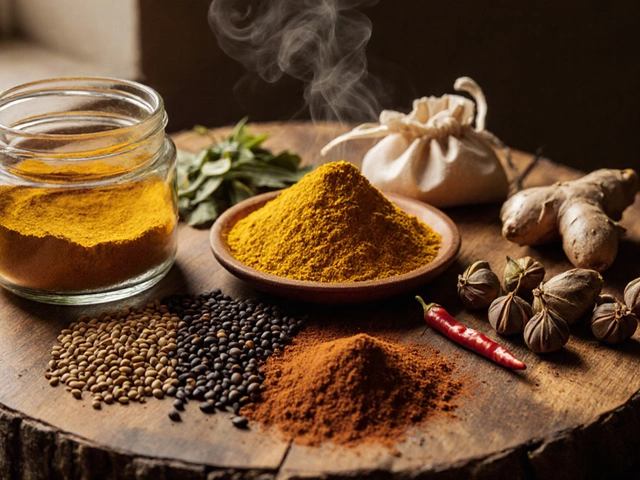
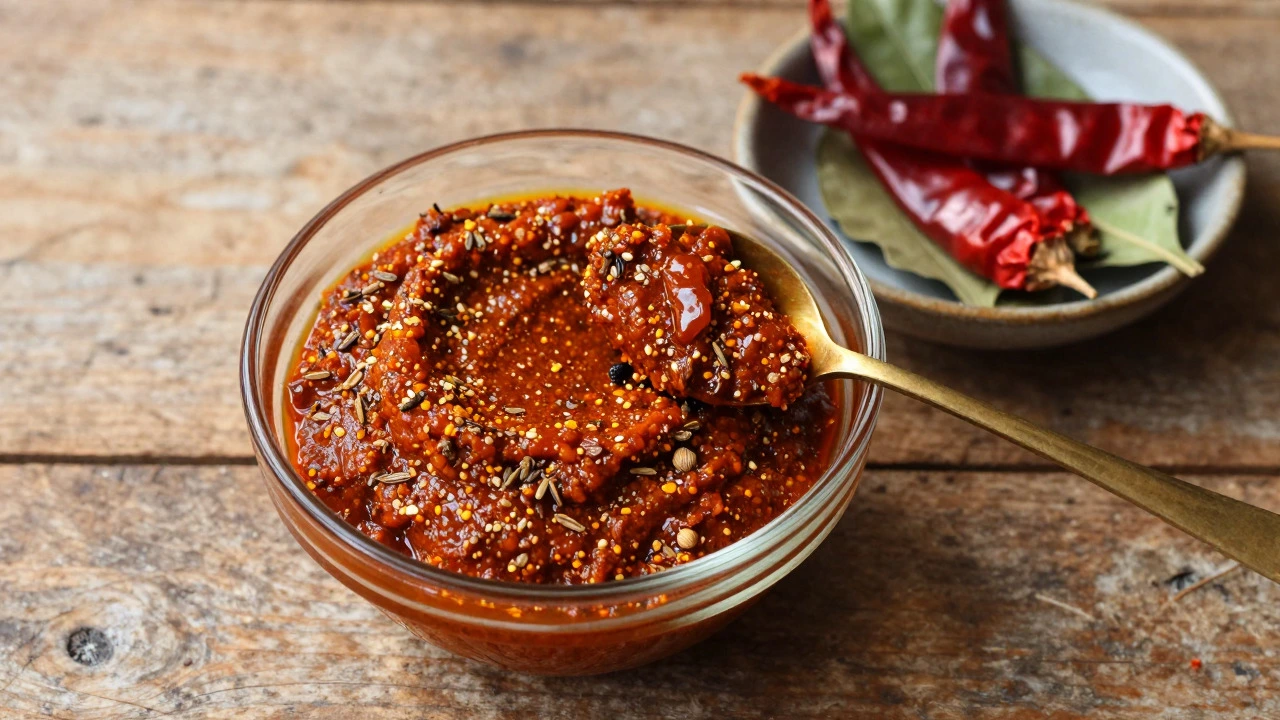
Instead of tossing whole coriander seeds and dried chilies directly into the pot, blend them into a fine masala paste. This involves grinding cumin, coriander, fenugreek, turmeric, and dried red chilies with a small amount of water or yogurt. The paste acts as a carrier, ensuring that no single spice dominates another. It also increases the surface area of the spices, allowing them to cook faster and more evenly.
| Method | Flavor Distribution | Cooking Time Required | Texture Impact | Best For |
|---|---|---|---|---|
| Whole Spices (Tempering) | Uneven, intense pockets | Short (1-2 mins) | Adds crunch/aroma burst | Dals, vegetable curries |
| Masala Paste | Uniform, integrated | Longer (5-10 mins) | Smooth, thickened sauce | Meat curries, rich gravies |
When you add the paste to the hot ghee, you will hear a loud crackling sound. This is the water evaporating rapidly. Keep stirring constantly. If you stop, the paste will stick to the bottom and burn, turning the entire dish bitter. You want the mixture to change color from bright orange to a darker, reddish-brown. This visual cue indicates that the raw spice smell has cooked out and the roasted notes have emerged.
Technique: Searing Before Simmering
A common mistake is throwing raw chicken straight into the spiced oil. While some recipes do this, searing the chicken separately first creates a barrier that locks in juices. Pat the chicken pieces completely dry with paper towels before they hit the pan. Moisture is the enemy of browning. If the chicken steams in its own liquid, you get gray, bland meat. Aim for a golden crust on all sides. This crust dissolves slightly during the long simmer, adding body and richness to the final gravy.
Once the chicken is seared, remove it from the pan. Use the same pan to cook your onions. Don't wash it. The browned bits stuck to the bottom (fond) are pure flavor gold. Scrape them up with a wooden spoon while sautéing the onions until they turn deep amber. This takes about 15 minutes. Yes, really. Rushing this step leaves the onion flavor raw and sharp. Amber onions provide natural sweetness that balances the heat of the chilies and the acidity of the tomatoes.
The Simmer: Low and Slow Logic
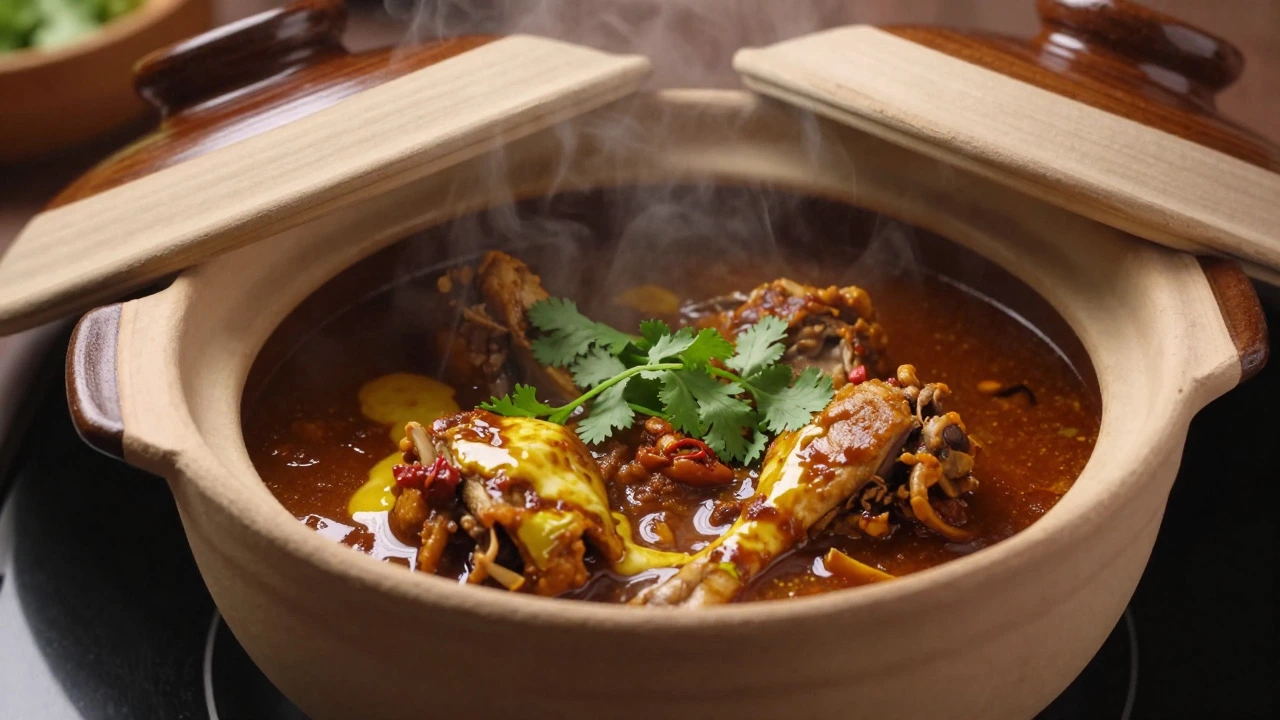
Now, combine the seared chicken, the onion-garlic-ginger base, and fresh tomatoes. Add water or stock to cover the meat. Bring it to a boil, then immediately reduce the heat to the lowest setting. Cover the pot. Let it simmer gently for at least 45 minutes to an hour. The goal is for the fat to separate from the sauce, forming a layer of oil on top. This separation is a sign that the collagen in the chicken has broken down into gelatin, which gives the curry its velvety mouthfeel.
If you keep the heat high, the emulsion breaks, and the sauce becomes watery. Stir occasionally to prevent sticking. Toward the end of cooking, check the seasoning. Salt helps draw out moisture, so adjust it in the last 10 minutes. Finish with a splash of cream or coconut milk if you want a richer texture, or fresh cilantro for brightness. These additions shouldn't be cooked for too long, or they lose their vibrant character.
Common Pitfalls and How to Fix Them
Even with the right technique, things can go wrong. Here are the most frequent issues and immediate solutions:
- Bitter Taste: Usually caused by burning the masala paste. Add a pinch of sugar or a splash of cream to mask the bitterness.
- Watery Gravy: The chicken wasn't simmered long enough, or too much water was added initially. Reduce the liquid over medium heat without a lid until it thickens.
- Raw Spice Smell: The spices weren't bloomed properly. Add a teaspoon of ground cumin and stir well, letting it fry for an extra minute.
- Tough Meat: The heat was too high, causing proteins to contract tightly. Continue simmering on very low heat for another 30 minutes.
FAQ
What is the best type of chicken for curry?
Bone-in, skin-on thighs are ideal. The bone infuses flavor into the meat, and the skin renders fat that enriches the sauce. Boneless breasts work but require careful monitoring to avoid drying out.
Can I use store-bought curry powder instead of whole spices?
Yes, but you lose control over the heat level and specific flavor notes. If using pre-mixed powder, bloom it in the oil for 30 seconds before adding liquids to activate the oils. Freshly ground spices always yield superior results.
How long can chicken curry be stored in the fridge?
Properly stored in an airtight container, chicken curry lasts 3-4 days in the refrigerator. It actually tastes better the next day as the flavors continue to meld. Freeze leftovers for up to 3 months.
Why does my curry taste acidic?
Excess tomato acidity is the usual culprit. Balance it with a teaspoon of sugar, a squeeze of lime juice (counterintuitively, acid can cut acid), or a dollop of yogurt or cream to buffer the pH.
Do I need to roast the spices before grinding?
Roasting intensifies the aroma and makes the spices easier to grind. Dry-roast cumin and coriander seeds in a pan for 1-2 minutes until fragrant. Let them cool completely before blending to preserve essential oils.
- Poplular Tags
- chicken curry
- perfect curry
- masala paste
- blooming spices
- cooking technique