Roti Making Tips: Perfect Flatbreads Every Time with These Simple Tricks
When you're making roti, a soft, unleavened Indian flatbread made from whole wheat flour and water. Also known as chapati, it's the backbone of countless Indian meals—from dal and sabzi to curries and pickles. But most people struggle with it. Too thick. Too tough. Sticks to the pan. Falls apart. It doesn’t have to be this way. The difference between a good roti and a great one isn’t talent—it’s technique.
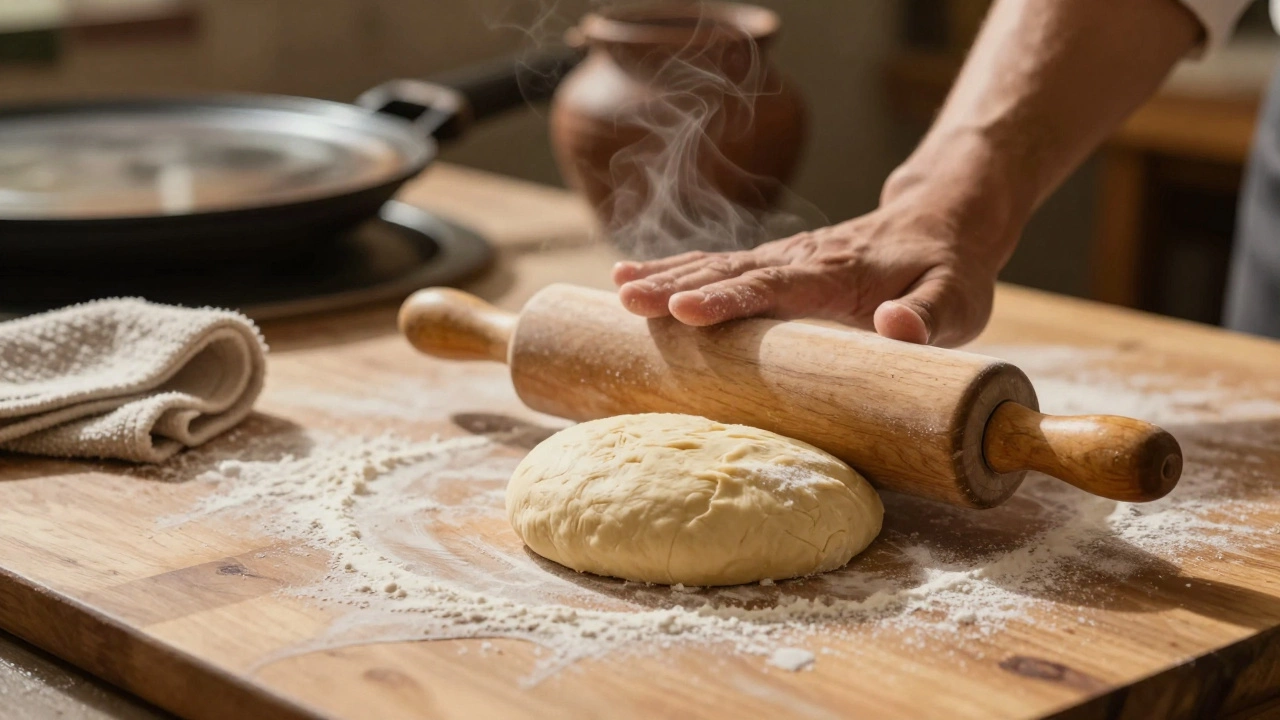
Good roti starts with the dough, a simple mix of whole wheat flour, water, and a pinch of salt. But the magic happens when you knead it long enough—about 8 to 10 minutes—until it’s smooth and elastic. Skip this, and your roti will crack when you roll it. You don’t need a mixer. Just your hands, a little patience, and clean counter. Then let it rest. At least 30 minutes. This isn’t optional. Resting lets the gluten relax, so the dough stretches without tearing. If you’re in a hurry, cover it with a damp cloth. Don’t leave it bare. Dry dough = dry roti.
Rolling matters more than you think. Too thin? It burns. Too thick? It’s doughy inside. Aim for a 6- to 7-inch circle, about the thickness of a credit card. Use minimal dry flour on the surface—just enough to stop sticking. A little oil on your rolling pin helps too. And never roll from the center outward like a pizza. Start from the edges, rotate the dough a quarter turn after each roll. That’s how you get a perfect round shape without uneven edges.
Now, the tava, the flat griddle used to cook roti. It needs to be hot—not smoking, but hot enough that a drop of water sizzles and vanishes. Don’t grease it. Never. A dry tava gives you those beautiful brown spots and a slightly charred edge that adds flavor. Place the rolled roti on it. Wait 20 seconds. Flip. Wait another 20. Then press it gently with a clean cloth or spatula. That’s when it puffs up. If it doesn’t, your heat is too low. If it burns before puffing, your tava’s too hot. It’s a balance. You’ll get it after two or three tries.
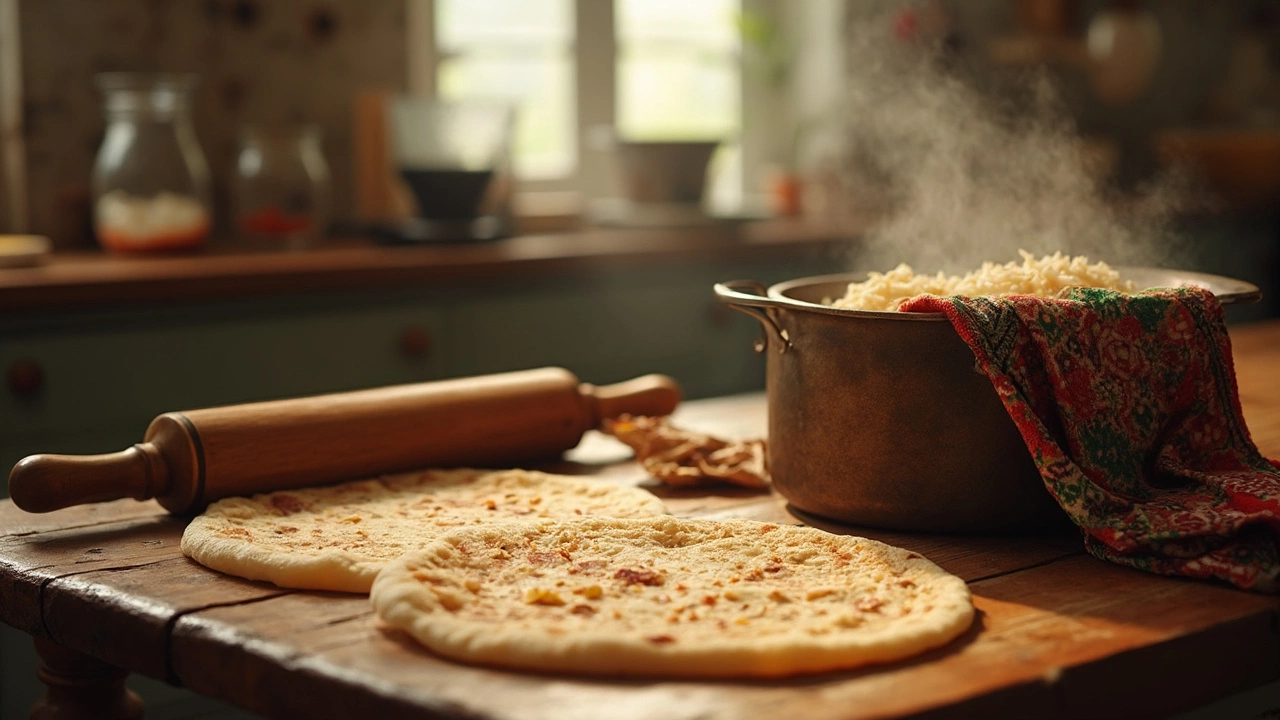
Some people swear by cooking roti directly over flame after the tava. That’s fine if you have a gas stove and don’t mind a little smoke. But for most home kitchens, the tava method works better—consistent, safe, and just as tasty. And don’t stack them right away. Let each one cool slightly on a towel. Stacking hot roti traps steam and makes them soggy. Keep them covered with a cloth to stay warm and soft.
What you won’t find in most recipes? The real reason your roti turns hard. It’s not the flour. It’s not the water. It’s the timing. Roti is best eaten fresh—within 10 minutes of cooking. That’s when it’s pillowy and warm. Leftovers? Reheat on the tava for 10 seconds per side. Microwaving turns it rubbery. Don’t do it.
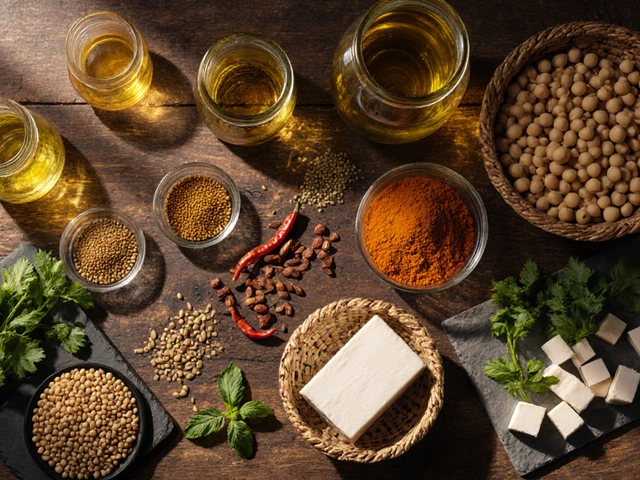
You’ll find dozens of roti recipes online. But the truth? Most of them overcomplicate it. You don’t need yogurt, milk, ghee, or baking soda. Just flour, water, salt, heat, and practice. The posts below show you exactly how to fix common roti mistakes—why yours won’t puff, how to make them softer, what to do when the dough is too sticky, and how to store them without losing texture. These aren’t theories. These are the tips used in homes across India, tested over decades. Try them. Your next roti will be the best one yet.