Paneer Texture Predictor
Ready to Predict
Select your cooking methods on the left and click "Predict Texture" to see the outcome.
There is nothing quite like the satisfaction of making fresh paneer at home. It tastes cleaner, cheaper, and infinitely better than the rubbery blocks you find in supermarkets. But then you go to slice it for your palak paneer or butter masala, and it falls apart into a sad, dry pile of crumbs. You wonder what went wrong. Did you use the wrong milk? Was the heat too high? Or did you just get unlucky with the batch?
If your homemade paneer is crumbly, dry, or grainy, it’s usually not bad luck-it’s a technical error in the chemistry of curdling. Making paneer is less about cooking and more about controlling temperature, acidity, and handling. When any of these variables slip, the protein structure collapses instead of forming that smooth, elastic net we crave.
The Science Behind Soft Paneer
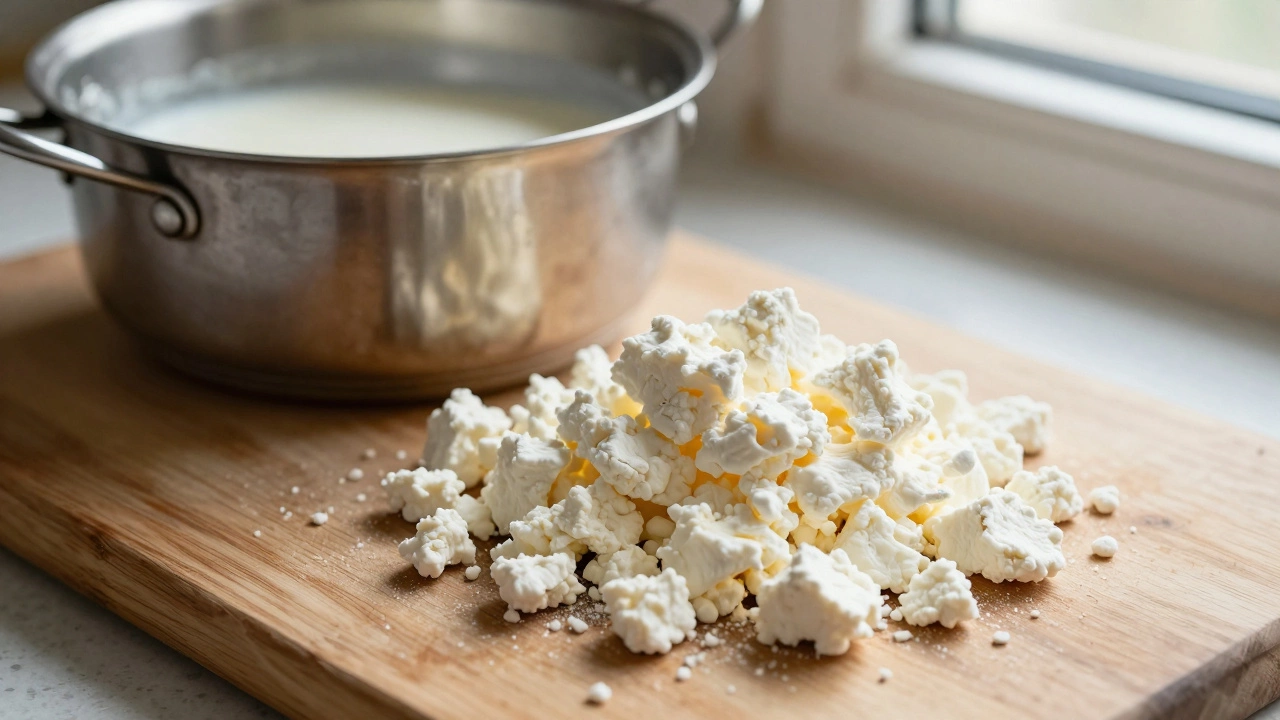
To fix the problem, you first need to understand why it happens. Paneer is a fresh, unripened cheese made by coagulating milk proteins (casein) using an acid. The goal is to separate the solid curds from the liquid whey while keeping the fat and moisture trapped inside the protein network.
When paneer turns out crumbly, two things have gone wrong: either the protein strands were damaged during formation, or they were squeezed too hard afterward. Think of the curds like a sponge. If you treat them gently, they hold water and stay soft. If you agitate them violently or squeeze them under heavy pressure, you break the sponge structure, expelling all the moisture and leaving behind a brittle, chalky mess.
This process relies on three critical factors: the type of milk, the temperature of the curdling agent, and the physical handling of the curds. Missing even one can turn a creamy block into dust.
Mistake #1: Using the Wrong Milk
The single biggest reason for crumbly paneer is using low-fat or ultra-processed milk. Paneer needs fat to be tender. Fat coats the protein strands, preventing them from clumping together too tightly. Without enough fat, the proteins bond aggressively, creating a tight, dry mesh that snaps when you cut it.
- Avoid skim or 1% milk: These will almost always result in dry, crumbly cheese. They lack the lubrication needed for a soft texture.
- Use full-fat whole milk: Look for milk with at least 3.5% to 4% fat content. In South Africa, standard "Full Cream" milk works perfectly.
- Check for additives: Some commercial milks contain stabilizers like carrageenan or gums to prevent separation. These can interfere with curdling. Fresh pasteurized milk is ideal. UHT (Ultra-High Temperature) milk often fails to curdle properly because the high heat denatures the proteins differently. If you must use UHT, add a splash of cream to compensate for texture loss.
If you are using powdered milk, reconstitute it with extra water but also add a tablespoon of oil or cream to mimic the fat content of fresh dairy. This small addition can save a batch from turning into gravel.
Mistake #2: Overheating the Acid or the Milk
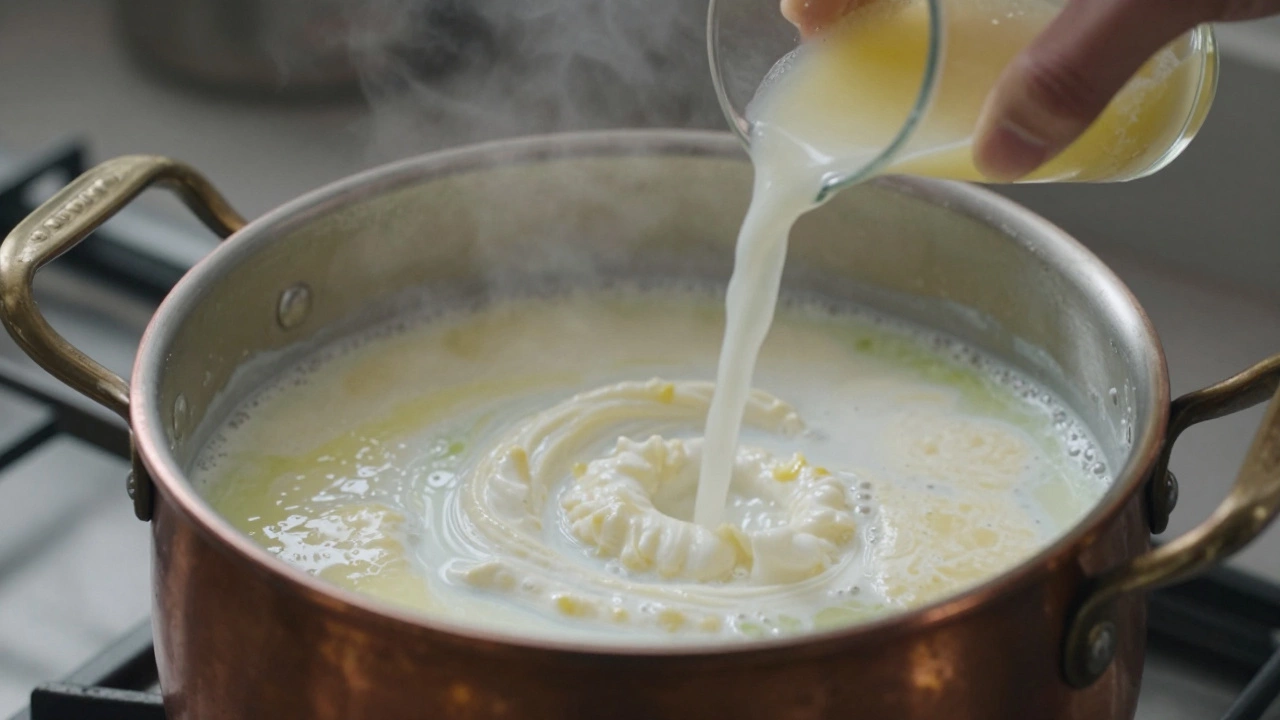
Temperature control is non-negotiable. Many recipes tell you to bring the milk to a boil and then add lemon juice or vinegar. However, if the milk is boiling vigorously when you add the acid, the curds form instantly and harshly. This shock causes the proteins to contract rapidly, squeezing out moisture and resulting in a tough, grainy texture.
Here is the correct thermal approach:
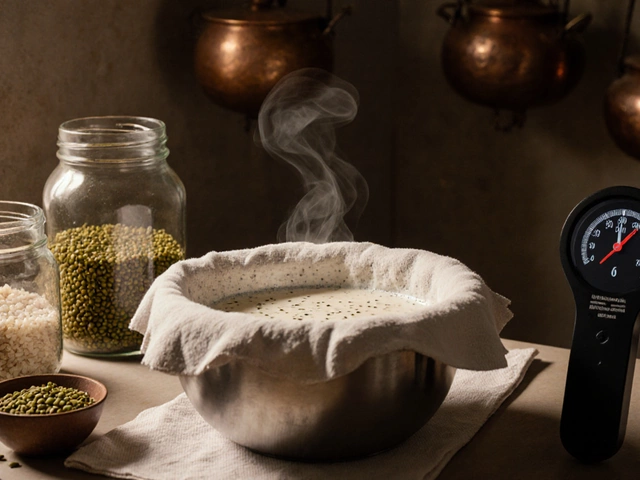
- Heat the milk gently: Bring the milk to a rolling boil, then immediately reduce the heat to low. Let it simmer for 2-3 minutes. This ensures the milk is fully heated without scorching.
- Cool slightly before adding acid: Remove the pot from the heat source entirely. Wait 30 seconds. The temperature should drop slightly below boiling point (around 85-90°C). This gentle environment allows the curds to form slowly and softly.
- Use warm acid: If you are using lemon juice or vinegar, warm it slightly in the microwave for 10 seconds. Cold acid added to hot milk creates thermal shock. Warm acid integrates smoothly, encouraging larger, softer curds rather than tiny, gritty ones.
Adding the acid too quickly is another common pitfall. Pour it in a thin stream while stirring gently in one direction. Stop as soon as you see the whey separating (turning greenish-yellow) and the curds floating. Do not over-acidify. Excess acid makes the curds tight and squeaky.
Mistake #3: Aggressive Stirring and Handling
Once the curds have formed, how you touch them determines their final texture. I’ve seen people stir the curds vigorously with a wooden spoon, trying to "break them up." This breaks the delicate protein bonds. Instead, use a slotted spoon to gently lift the curds out of the whey. Let them settle naturally. The less you disturb them, the softer they will be.
Draining is where most beginners make a fatal error. After scooping the curds into a cheesecloth-lined strainer, many people tie the cloth tightly and hang it over a cabinet door or press it under a heavy pot of water. This gravity-based pressing forces every last drop of whey out of the cheese. While this removes moisture, it also removes tenderness.
For soft paneer, you want to retain some internal moisture. Here is how to drain correctly:
- Use a colander: Place the cheesecloth bundle in a colander set over a bowl. Let gravity do its work for 15-20 minutes. This removes excess surface whey without compressing the interior.
- Light pressing only: If you need a firmer block for slicing, wrap the drained curds in the cheesecloth and place a light weight on top-like a single plate with a couple of cans of beans. Never use heavy weights unless you are making chhana for sweets, which requires a different texture profile.
- Time limit: Do not let the paneer sit in the cloth for hours. Once it has firmed up enough to handle (usually 20-30 minutes), unwrap it and store it in cold water in the fridge. Keeping it submerged keeps it moist and pliable.
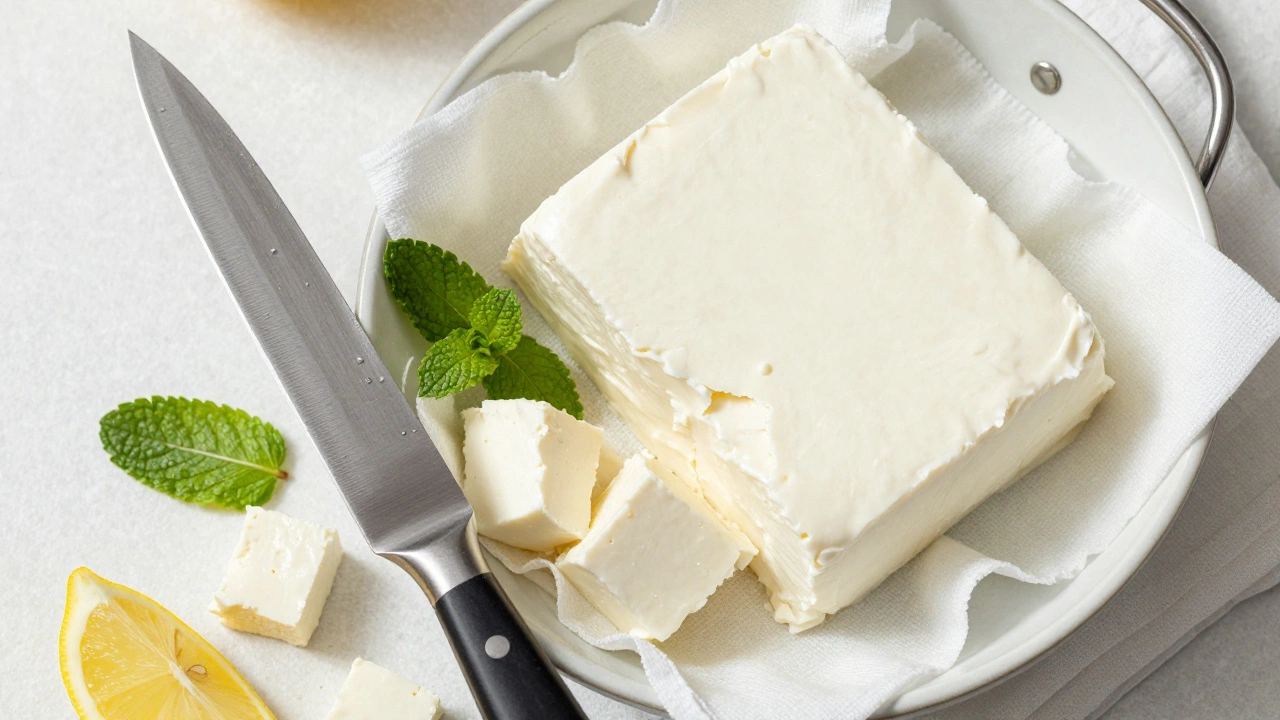
Mistake #4: Cutting Techniques
Even if your paneer is perfect, cutting it incorrectly can make it look crumbly. A dull knife crushes the cheese rather than slicing through it. Always use a sharp chef’s knife. Wet the blade with warm water before each cut. This reduces friction and prevents the cheese from sticking to the metal, which can tear the surface.
Cut into cubes or rectangles in one smooth motion. Do not saw back and forth. Sawing shreds the protein structure, leading to crumbling edges.
Troubleshooting Your Current Batch
If you already have a batch of crumbly paneer, don’t throw it away. It’s still delicious; it just won’t hold its shape in curries. Here is how to salvage it:
- Use it in bhurjis or scrambled dishes: Crumbled paneer works beautifully in paneer bhurji, where the texture is meant to be loose.
- Add cream: If you must use it in a curry, stir a tablespoon of heavy cream or yogurt into the sauce. The added fat will coat the dry crumbs, mimicking the mouthfeel of soft paneer.
- Blend it: For soups or creamy sauces, blend the crumbly paneer with a little milk until smooth. It becomes an excellent thickener and flavor enhancer.
Comparison: Factors Affecting Paneer Texture
| Factor | Correct Approach | Result of Error |
|---|---|---|
| Milk Fat Content | Full-fat (3.5%+) | Low-fat = Dry, chalky, crumbly |
| Curdling Temperature | Simmering, off-heat | Boiling = Tough, rubbery curds |
| Acid Type | Lemon juice or white vinegar | Too much acid = Squeaky, tight texture |
| Pressing Weight | Light weight or none | Heavy weight = Hard, dry brick |
| Storage | Submerged in cold water | Air exposure = Surface drying and cracking |
Frequently Asked Questions
Can I use buttermilk to make paneer?
Yes, buttermilk is an excellent natural acidifier. Because it is milder than lemon juice or vinegar, it produces a very soft, delicate paneer. However, it takes longer to curdle, so you may need to add more gradually. The resulting cheese is often even softer than traditional methods, so handle it with extra care to avoid crumbling.
Why is my paneer yellow instead of white?
Yellow tint usually comes from the diet of the cows producing the milk, specifically beta-carotene levels in grass-fed dairy. It does not affect taste or texture. If you prefer stark white paneer, choose milk from grain-fed cows or add a pinch of turmeric-free color correction (though this is rarely necessary for home cooks).
How long does homemade paneer last?
Homemade paneer has no preservatives, so it spoils faster than store-bought versions. Keep it submerged in cold water in an airtight container in the refrigerator. Change the water daily. It will stay fresh for 3-4 days. Do not freeze it if you want to maintain softness, as freezing alters the protein structure and makes it spongy upon thawing.
Can I make paneer with plant-based milk?
Traditional paneer cannot be made from soy, almond, or oat milk because they lack casein proteins. However, you can make vegan "paneer" using tofu. Press firm tofu thoroughly, then marinate it in spices. It won't melt or behave exactly like dairy paneer, but it serves a similar culinary purpose in curries.
What if my milk didn't curdle at all?
If the milk remains liquid after adding acid, it likely contains stabilizers or was UHT treated. Try heating the milk again and adding a teaspoon of citric acid dissolved in water, which is stronger than lemon juice. Alternatively, mix the failed batch with fresh full-fat milk and try again, using half the amount of new milk to dilute the inhibitors.
- Poplular Tags
- homemade paneer
- crumbly paneer
- paneer texture
- curdling milk
- soft paneer tips