Dal Cooking Calculator & Timer
Setup Your Batch
Cooking Timer
Pro Tip:
🍲 Ready to Cook?
Select your dal and serving size to generate the perfect ingredient list and timer automatically.
There is no debating it. You stand in your kitchen, you want something warm and comforting, but you don't want to spend three hours watching a pot bubble. That feeling leads straight to one specific question hanging over Indian households everywhere: which dal is actually the easiest to cook? If you have tried other varieties before and ended up with burnt bottoms or mushy texture, this guide cuts through the noise to give you the right answer immediately.
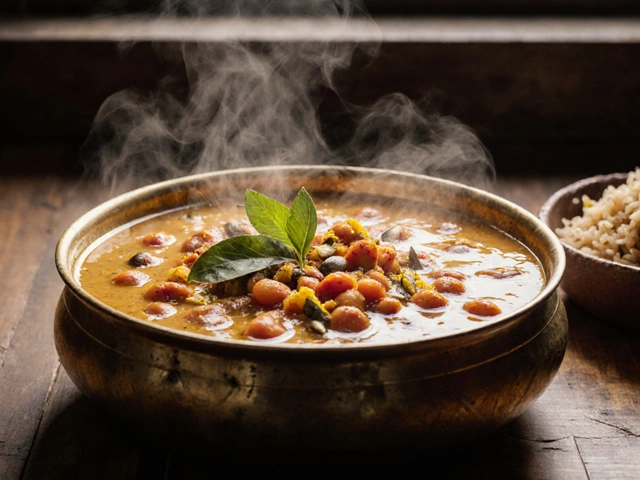
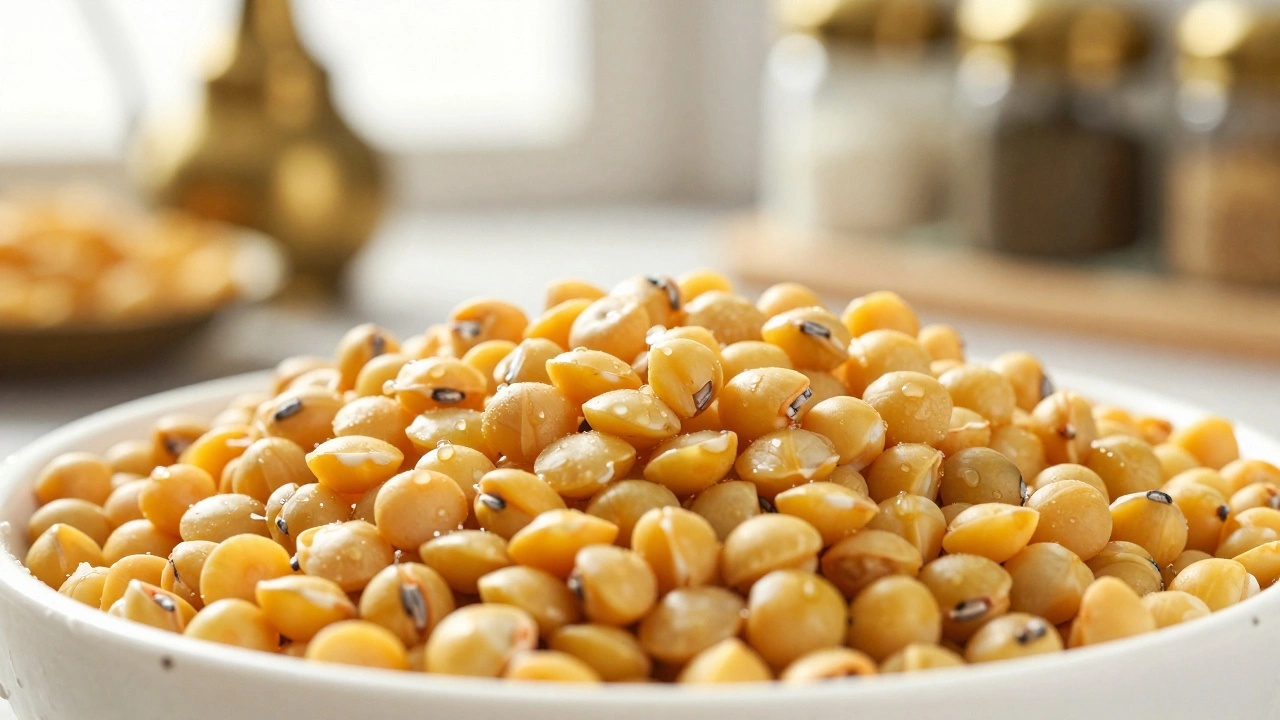
The winner is Yellow Moong Dal. Known as split mung beans, this ingredient requires almost no prep work and cooks perfectly in under thirty minutes without soaking. While red masoor dal is close behind, yellow moong dal wins because it holds its shape better while softening faster, making it foolproof even if you get distracted during the process.
Understanding the Texture Challenge
Before you grab any dried legume, you need to understand why some take forever. The main factor is the seed coat. Think of a seed coat like a protective shell that needs to break down. Whole green moong beans still have their outer layer intact. This barrier traps heat out and keeps the bean firm for much longer. Yellow moong, however, has had this skin removed mechanically. It is just the inner kernel exposed to water. When you add water to these split beans, the starch absorbs moisture instantly.
This structural difference explains why whole chana dal can take forty-five minutes in a pressure cooker while split yellow moong dissolves into a creamy consistency in twenty. Even better, the flavor profile remains neutral enough to accept strong spices like cumin and mustard seeds without fighting back against them. This makes it ideal for beginners who want to learn how tempering works without struggling with the base ingredient first.
The Two Top Contenders
While yellow moong takes the top spot, it is helpful to know the runner-up so you have backup options. Here is how the most popular quick-cooking lentils compare side-by-side.
| Dal Type | Cook Time (Pot) | Soak Required? | Texture Result |
|---|---|---|---|
| Yellow Moong Dal | 20-25 mins | No | Creamy, non-mushy |
| Masoor Dal | 15-20 mins | No | Very soft, breaks easily |
| Toor Dal | 25-35 mins | Recommended | Globular, thick |
You will see Masoor Dal appears to be faster on paper because it disappears quickly. Red split lentils turn into pure soup in no time. The downside is control. If you stop stirring for a moment too long or the heat gets slightly too high, the bottom sticks and burns instantly. With yellow moong, you have a bit more buffer time to manage the flame. For absolute beginners, that ten-minute window of error tolerance makes a huge difference in confidence building.
How to Make Perfect Dal Without Stress
Here is the method that guarantees a result every single time. We use a standard pot rather than a pressure cooker because it teaches you how the cooking process actually looks. Once you master this, moving to pressure cooking is trivial.
- Rinse thoroughly: Put one cup of yellow moong dal in a bowl. Fill with cold water and swirl your hand around. Lift the lid; let the dirt settle, then pour out the dirty water. Do this twice. This removes natural dust and helps remove surface starch.
- Add liquid: Pour the rinsed lentils into a heavy-bottomed saucepan. Add three cups of water. A ratio of 1:3 works perfectly for absorption.
- Season early: Sprinkle half a teaspoon of turmeric powder and half a teaspoon of salt directly into the water. Cooking salt with the dal allows the grains to soften evenly inside.
- Simmer gently: Bring to a boil on medium-high heat. As soon as bubbles rise, cover the pan partially. Turn the heat down to low. Let it simmer for twenty minutes. Check it after fifteen minutes by squishing a grain between your fingers. If it crushes, it is done.
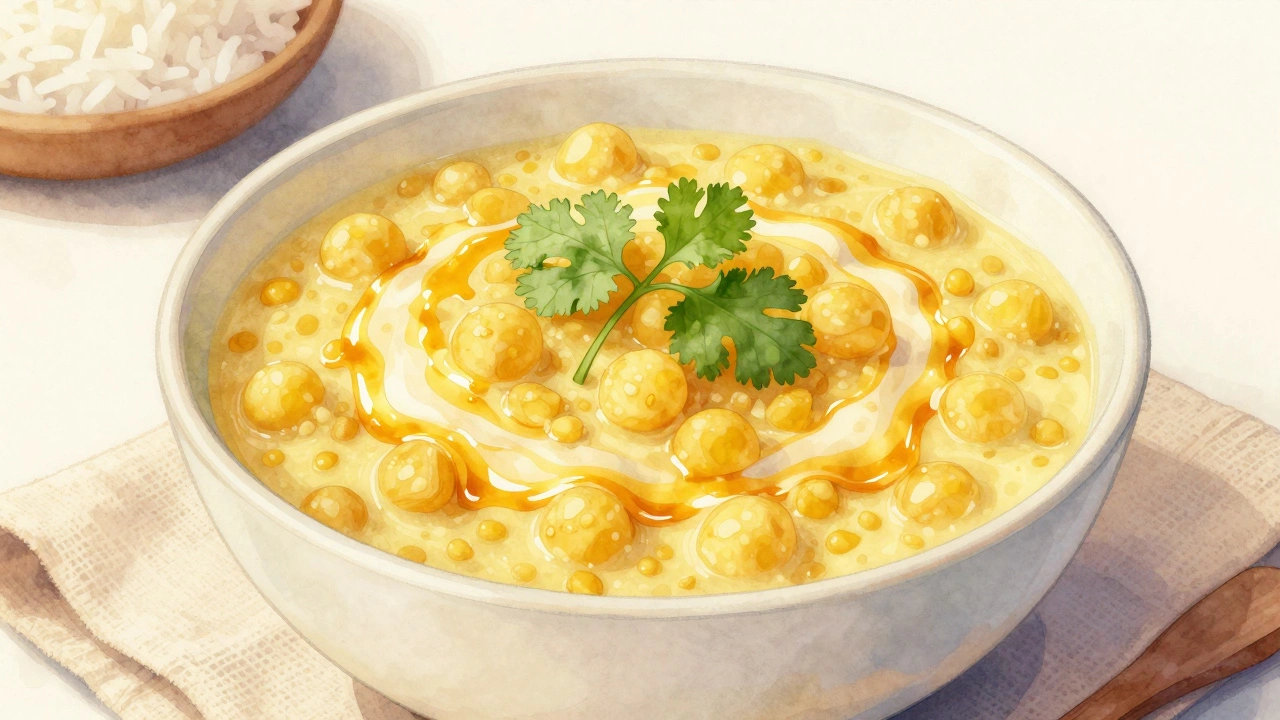
The goal here is hydration. You want the lentil to burst open slightly but not disappear entirely. If the water evaporates before the dal is soft, just add a little hot water and keep going. It should look like a loose soup. If you want it thicker, let the last few minutes boil uncovered to reduce the excess liquid.
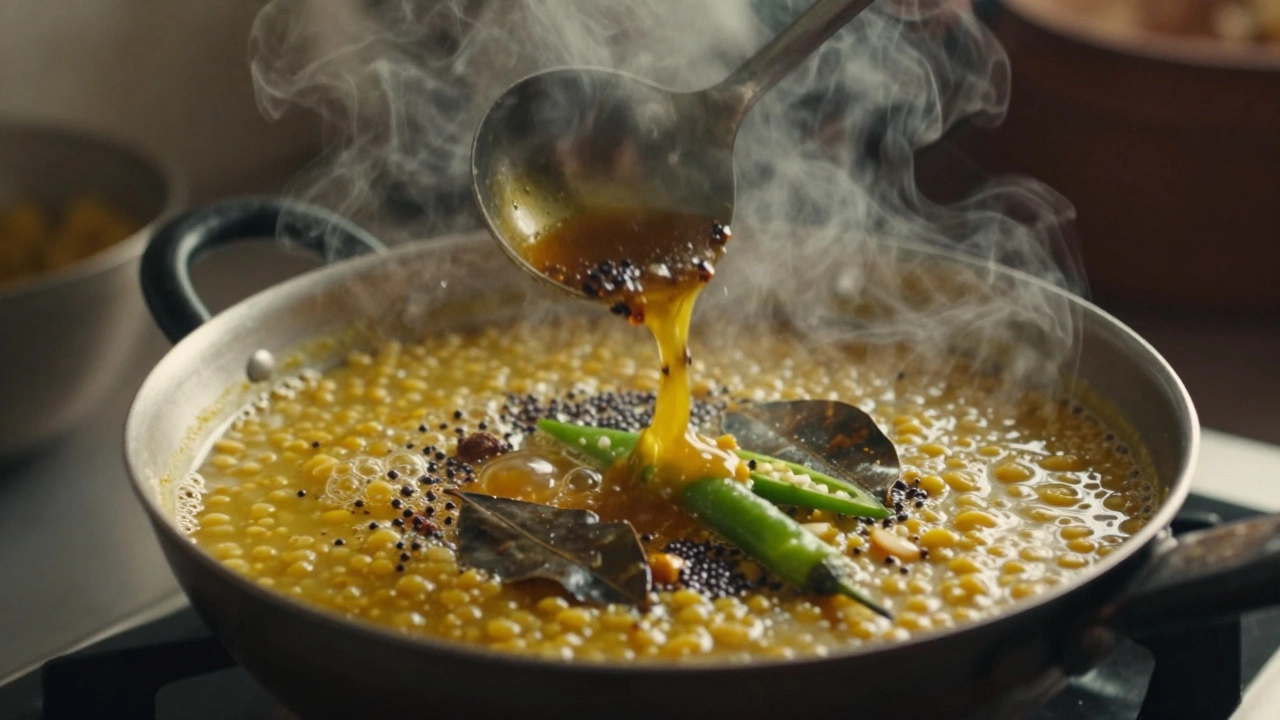
The Secret Weapon: Tempering or Tadka
Raw dal tastes bland. To transform plain boiled lentils into a meal, you must do a technique called Tadka or tempering. This means frying whole spices in fat until they release essential oils. This aroma lifts the entire dish.
In a small separate pan, melt two tablespoons of ghee or oil. Throw in one teaspoon of black mustard seeds. They will pop immediately. Add a pinch of asafoetida (hing) if you have it, plus three chopped curry leaves and two slit green chilies. Watch carefully. When the seeds crackle and the leaves crisp up, pour this hot sizzling mixture directly into the boiling dal. Swirl the ladle once.
Why not add the spices directly to the dal pot initially? High heat destroys some of the delicate flavors in whole spices. Frying them briefly extracts those volatile oils and locks them into the fat, distributing the flavor uniformly throughout the serving.
Troubleshooting Common Issues
Even the easiest recipes can go wrong if things drift off course. Here is how to fix common problems if your dal does not look right.
- Salty or Undersalted? If you forgot the salt, mix a teaspoon of salt with two spoons of water and stir it in. Adding dry salt to finished watery dal causes clumps.
- Burning Smell: Always shake the pot near the end. Dal contains starch which sinks. The bottom layer is the danger zone. Stirring every three minutes prevents sticking completely.
- Too Sour?: Sometimes tomatoes added too early release acid that stops the dal from softening. Acid toughens plant fibers. If using tomatoes, add them in the last five minutes of cooking, not at the start.
Digestion issues are another concern. Soaking the dal for an hour before cooking reduces phytates naturally found in legumes. These compounds bind to minerals and make digestion difficult. Since we are prioritizing speed, yellow moong needs less soaking than brown ones. But if you notice bloating, rinse the soaked beans vigorously and drain the soak water. Discarding the soak water washes away the anti-nutrients.
Variations for Taste Buds
Once you have mastered the basic yellow moong dal, you might want to spice things up without losing the "easy" factor. A classic variation involves garlic. Some traditionalists avoid onion and garlic, keeping it vegetarian-friendly. If you are flexible, adding sautéed garlic cloves into the tadka gives a deep savory kick.
You can also add roasted coconut flakes. Toast grated coconut in a dry pan until golden brown. This adds crunch and a nutty flavor profile that complements the earthiness of the lentil. Another upgrade is mixing vegetables. Finely diced carrots or spinach tossed in during the last ten minutes work well. Be careful with leafy greens like kale or spinach; add them only when the dal is fully cooked so they wilt properly without overcooking into mush.
Storage and Reheating Tips
Meal planning often dictates how you cook. Can you save leftovers? Absolutely. Cooked dal keeps in the fridge for four days in an airtight container. It tends to thicken significantly as it cools because starch retrogrades (binds up again).
To reheat, you cannot just zap it in the microwave dry. It will harden further. Add a splash of water and cover it with a damp paper towel. Heat in thirty-second bursts. For the best flavor revival, add a fresh drop of ghee before eating. The fresh fat coats the reheated grains, restoring the slippery mouthfeel.
Freezing is an excellent strategy too. Portion the dal into ice cube trays or freezer-safe containers. Thaw overnight in the refrigerator before reheating. Avoid freezing dal if you added paneer or yogurt, as dairy separates upon freezing and creates a grainy texture.
Do I need to soak yellow moong dal before cooking?
No, soaking is not strictly necessary for yellow moong dal because the husk is already removed. Rinsing thoroughly is enough. Soaking reduces cooking time by about 5 minutes but isn't required for good results.
What if my dal is still hard after 30 minutes?
If the dal is still hard after 30 minutes, check if the water is boiling. Sometimes mineral-heavy tap water slows down the softening process. Try adding a tiny pinch of baking soda; this raises the pH level and helps break down the fiber walls faster.
Can I use chicken stock instead of water?
Yes, substituting water with chicken or vegetable stock adds significant depth of flavor. Just reduce the amount of salt in the recipe since stocks are already salty.
Is red dal easier to cook than yellow dal?
Red dal (Masoor) cooks faster but splits apart more easily. It is suitable for soups but harder to keep the grain distinct. Yellow dal offers a better balance of speed and texture control.
Why did my dal foam or overflow?
Foaming happens due to starch release. Use a larger pot than you think you need. Keep a little water ready to pour over the bubbling center to break the foam and prevent spills.
- Poplular Tags
- easiest dal
- dal recipe
- moong dal
- lentil cooking
- indian food basics