Dal Cooking Time Calculator
Select Your Dal
Your Dal Cooking Guide
Ever been stuck without a pressure cooker and needed a bowl of warm, comforting dal? It happens. Maybe your cooker broke. Maybe you’re camping. Maybe you just don’t own one. But dal-whether it’s toor, masoor, or chana-doesn’t wait for perfect conditions. And yes, you can absolutely make dal without a cooker. It takes a little more time, a bit more attention, but the result? Just as rich, just as satisfying.
Why Dal Needs Time to Cook
Dal isn’t just lentils in water. It’s about breaking down the lentils until they’re soft, creamy, and ready to absorb spices. Pressure cookers speed this up by trapping steam and raising the boiling point. Without one, you’re relying on gentle, steady heat. That means patience. But it also means control.Most dried lentils take 30 to 60 minutes to cook on the stove. Split red lentils (masoor dal) cook faster-around 20 to 25 minutes. Whole lentils like chana dal or toor dal take longer, closer to 45 to 60 minutes. So start with the right kind of dal for your timeline.
Step-by-Step: Cooking Dal on the Stove
- Rinse the dal. Use a fine mesh strainer and rinse under cold water until the water runs clear. This removes dust and excess starch that can make the dal muddy.
- Soak if you can. Soaking for 30 minutes to an hour cuts cooking time by 10 to 15 minutes. It also helps the lentils cook more evenly. If you’re in a rush, skip it-but don’t skip the rinse.
- Use the right pot. Pick a heavy-bottomed pot or saucepan. Thin pots burn easily. Cast iron, stainless steel, or enameled pots work best. Add 2.5 to 3 cups of water for every cup of dal.
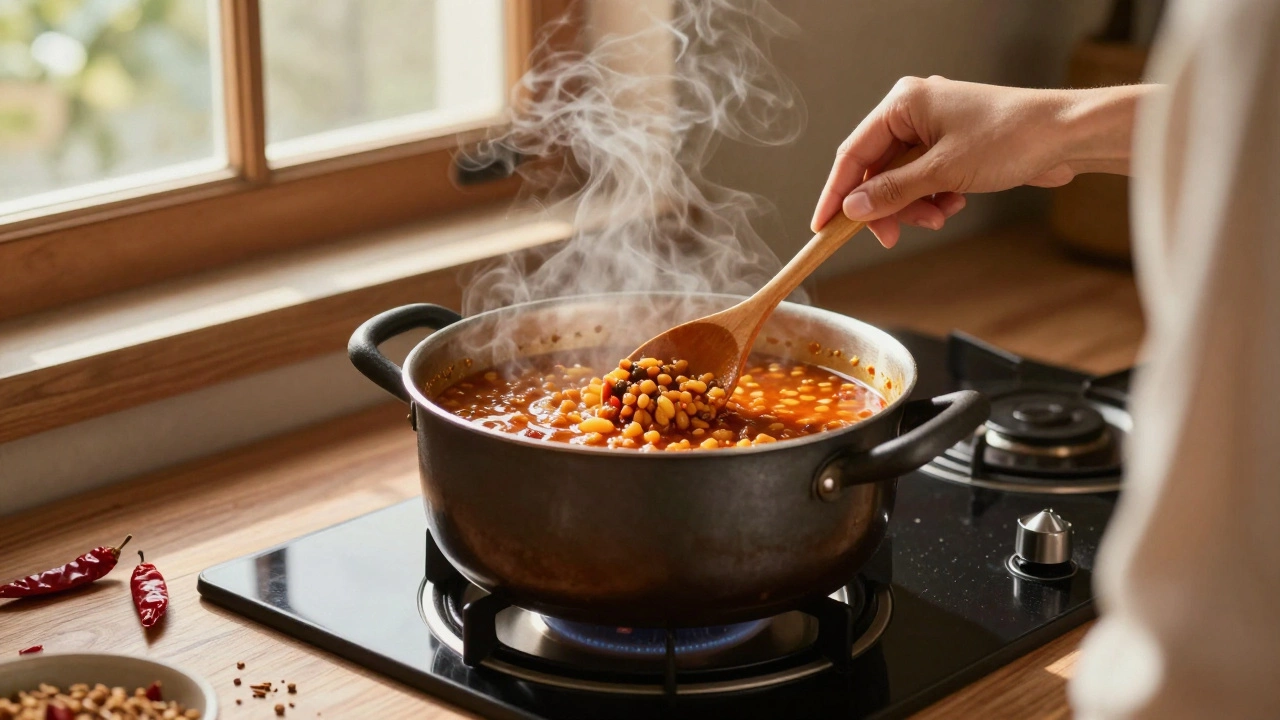
- Bring to a boil, then simmer. Turn the heat to high until the water boils. Then, lower it to the lowest setting that still keeps a gentle bubble. Cover the pot with a lid slightly askew to let steam escape slowly. This prevents overflow and keeps the dal from turning gluey.
- Stir occasionally. Every 10 to 15 minutes, give it a gentle stir. You don’t need to stir constantly, but you do need to check for sticking. If the bottom looks dry, add a splash of hot water.
- Test for doneness. The dal is ready when you can crush a lentil between your fingers. It should be soft, not grainy. If it’s still crunchy, keep simmering. Add more water if needed.
- Make the tadka. While the dal cooks, heat 2 tablespoons of oil or ghee in a small pan. Add 1 teaspoon cumin seeds, a pinch of asafoetida (hing), 2 dried red chilies, and a few garlic cloves. When the cumin sizzles and turns golden, pour this over the cooked dal. Stir it in. That’s where the flavor explodes.
Which Dal Works Best Without a Cooker?
Not all dals behave the same. Here’s what to pick based on your time and taste:
| Dal Type | Cooking Time (Stove) | Texture | Best For |
|---|---|---|---|
| Red Masoor Dal | 20-25 minutes | Soft, creamy, breaks down easily | Quick meals, kids, soups |
| Yellow Toor Dal | 45-60 minutes | Thick, hearty, holds shape | Classic Indian dal, comfort food |
| Chana Dal (split chickpeas) | 50-70 minutes | Firm, nutty, slightly chewy | Hearty stews, protein-rich meals |
| Mung Dal (yellow) | 30-40 minutes | Light, mild, easy to digest | Detox meals, babies, sensitive stomachs |
Red lentils are your fastest option. If you’re cooking for one or need dinner in under 30 minutes, go with masoor. For something more traditional and filling, toor dal is the classic choice-just plan ahead.
Common Mistakes When Cooking Dal Without a Cooker
People think stove-top dal is foolproof. It’s not. Here’s what goes wrong-and how to fix it:
- It’s still hard after an hour. You might be using old lentils. Lentils lose moisture over time. If they’ve been sitting in your pantry for over a year, they’ll take forever to cook. Buy from a store with high turnover.
- The dal is watery. You added too much water at the start. Start with less. You can always add more later. Better to reduce than dilute.
- It’s burnt at the bottom. Your pot’s too thin, or you didn’t stir enough. Use a heavy pot. Stir every 10 minutes. Keep the heat low.
- It tastes bland. You skipped the tadka. Don’t. That fried spice oil is what turns plain dal into something unforgettable. Even if you’re out of garlic, just fry cumin and chili in oil. That’s enough.
Flavor Boosters That Don’t Need a Cooker
You don’t need fancy ingredients to make dal taste amazing. Here’s what works:
- 1 teaspoon turmeric (adds color and anti-inflammatory benefits)
- 1/2 teaspoon ground coriander (earthy, balances heat)
- 1 chopped tomato (adds natural sweetness and acidity)
- A pinch of sugar (yes, really-it rounds out the bitterness of lentils)
- A squeeze of lemon at the end (brightens everything)
Many people add tomatoes while the dal simmers. That’s fine. But if you want cleaner flavor, sauté the tomato separately with spices, then mix it in at the end. It keeps the color bright and the taste fresh.
What to Serve With Stove-Top Dal
Dal isn’t a side dish. It’s the center. Pair it with:
- Plain steamed rice (the classic)
- Roti or chapati (for scooping)
- Cucumber raita (cooling contrast)
- A simple salad of onion, tomato, and cilantro with lemon
- Leftover dal makes a great filling for parathas the next day
One bowl of dal, one roti, and a spoonful of pickle? That’s a full, balanced meal. No fancy gadgets needed.
Can You Make Dal in a Microwave?
Yes, but it’s not ideal. Microwaves heat unevenly. You’ll get some mushy spots and some hard ones. If you’re desperate, use a microwave-safe bowl with a vented lid. Cook on high for 10 minutes, stir, then cook in 5-minute bursts until soft. Add water as needed. But unless you’re in a dorm room with no stove, stick to the stovetop. It’s more reliable.
How Long Does Stove-Top Dal Last?
Store cooled dal in an airtight container in the fridge. It lasts 4 to 5 days. The flavor actually improves after a day. Reheat gently on the stove with a splash of water. Don’t microwave it straight from the fridge-it’ll separate and turn rubbery.
Freeze it in portions for up to 3 months. Thaw overnight in the fridge, then reheat. It holds up better than most cooked legumes.
Real-Life Example: A Single Mom’s Weeknight Dal
Last Tuesday, Priya didn’t have time to soak lentils. Her pressure cooker was broken. Her daughter had soccer practice. She rinsed a cup of red masoor dal, put it in a pot with 2.5 cups of water, turned on the stove, and walked away for 20 minutes. While it simmered, she chopped a tomato, fried cumin and chili in oil, and warmed up leftover roti. She stirred the tadka into the dal, squeezed lemon on top, and served it with rice. Dinner was ready in 35 minutes. No stress. No gadgets. Just good food.
That’s what stove-top dal is: simple, forgiving, and always there when you need it.
Can I make dal without soaking the lentils?
Yes, you can. Soaking cuts cooking time by about 15 minutes and helps the lentils cook evenly, but it’s not required. Just rinse them well and be ready to simmer longer. Red lentils like masoor dal cook fine without soaking-just keep an eye on them.
Why does my dal taste bitter?
Bitterness usually comes from old lentils or not rinsing them well. It can also happen if you burn the spices in the tadka. Use fresh lentils, rinse thoroughly, and don’t let the oil smoke when frying spices. A pinch of sugar or a squeeze of lemon can also balance bitterness.
Can I use canned lentils instead?
You can, but it’s not the same. Canned lentils are already cooked and often contain added salt or preservatives. They won’t absorb spices the way dried lentils do. If you use them, skip the long simmer. Just warm them gently with your tadka and spices. It’s a shortcut, not a replacement.
How do I make dal thicker without a cooker?
Let it simmer uncovered for the last 10 minutes. The water will evaporate, and the dal will thicken naturally. You can also mash a few lentils against the side of the pot with a spoon. That releases starch and creates a creamy texture without adding flour or cornstarch.
Is stove-top dal less nutritious than pressure-cooked dal?
No. Both methods preserve nutrients well. Pressure cooking can break down fiber slightly faster, but stove-top cooking retains more of the natural texture and slow-release carbs. The real difference is in flavor and control-you get to adjust the consistency and seasoning to your taste.
If you’ve ever thought you needed a pressure cooker to make dal, think again. The best meals are often the ones made with what’s already in your kitchen. All you need is a pot, some patience, and a little oil to fry the spices. That’s the real secret.