Ever bought a big jug of milk and wondered if it’s cheaper or smarter to make your own paneer? You might be tempted by those gorgeous, soft cubes in Indian curries and snacks. But here’s the burning question: just how much paneer can you actually get from a gallon of milk? The answer isn’t as simple as you’d think. There’s science, timing, and even the fat level of the milk coming into play.
Understanding Paneer Yield: The Science (and Surprises) in Every Gallon
Milk isn’t just milk when you’re making paneer. There’s no universal yield, and people are often surprised when their kitchen experiments don’t match the numbers they see online. One U.S. gallon of whole cow’s milk—about 3.78 liters—typically gives you somewhere between 1.5 to 2 pounds (that’s about 680 to 900 grams) of fresh paneer. But let’s break it down further and figure out why these numbers aren’t set in stone.
Why the range? The type of milk matters first. Full-fat, whole milk gives you richer, creamier paneer with higher yield. If you use skim or 2% milk, you’ll get a firmer, less creamy, and significantly smaller block—sometimes only 1.2 pounds or so per gallon. Buffalo milk? The fat content is even higher, and that means you can squeeze out a bit more paneer per gallon. Honestly, the gold standard for Indian-style paneer is full-fat cow’s or buffalo’s milk—avoid UHT or ultra-pasteurized, as it doesn’t curdle properly.
The acid you use for curdling is the next key player. Some people swear by fresh lemon juice for its subtle flavor, others reach for vinegar for its punch. There’s even yogurt or buttermilk for softer paneer, but remember—different acids can change your yield slightly. Fresh lemon juice tends to create softer paneer, while vinegar leads to a firmer, slightly higher-yielding block. Always bring your milk up to a true boil before adding your acid; otherwise, you won’t get a clean curd separation and you’ll lose some yield in the leftover whey.
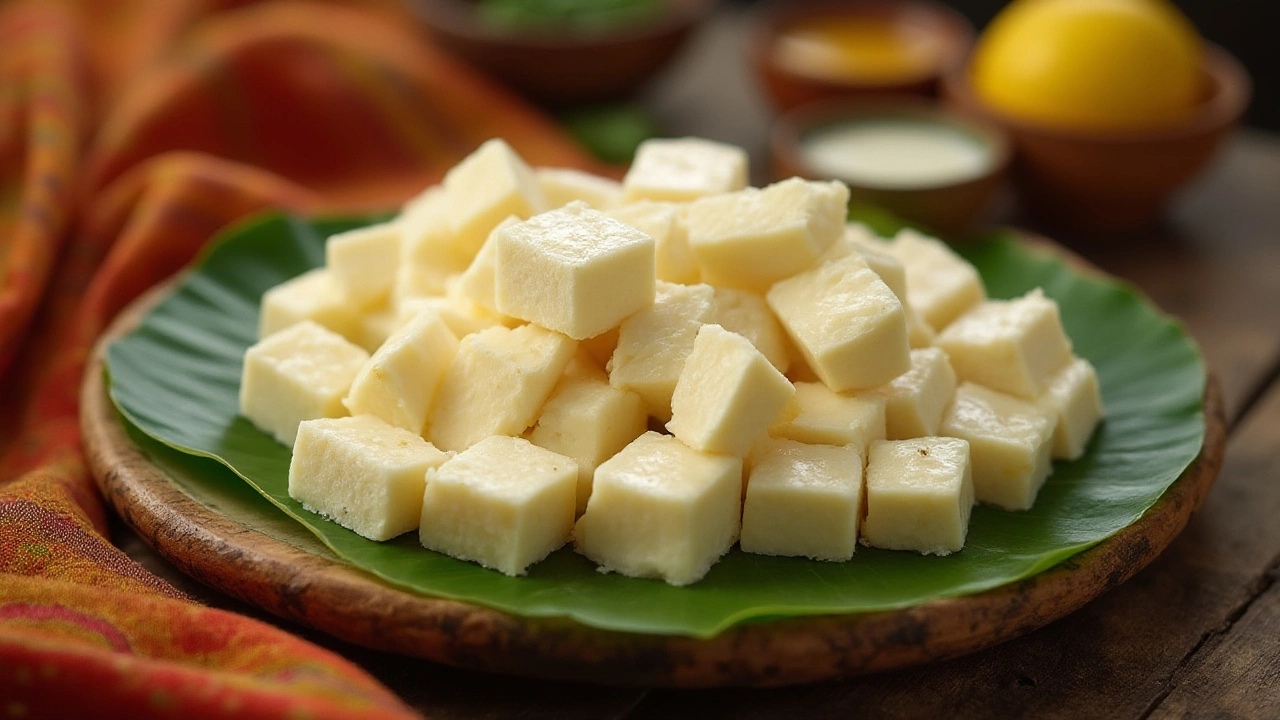
Speaking of whey, it’s mostly water, with leftover proteins, vitamins, and a tiny bit of fat. After straining, pressing, and cooling, that precious white block is your paneer. But the most common paneer mistake? Squeezing out too much whey by pressing it too hard for too long. You want it to hold together, not become dry and rubbery. The right balance will net you the highest, creamiest yield from every batch.
Now, here’s a geeky fact: The yield percentage for paneer is typically about 16-20% of the milk’s starting weight. So for a gallon of milk, weighing about 8.5 pounds (or roughly 3.85 kg), you get those 1.5 to 2 pounds. Paneer yield percentages are better than cheese yield (like cheddar or gouda) because you don’t lose as much water, and there’s no ripening. That’s why paneer is so fresh—it’s never aged.
By the way, your homemade paneer is free from additives and preservatives, and you control the salt. Compared to store-bought paneer, which often arrives rubbery or crumbly, homemade from whole milk blows it out of the water on both flavor and texture. And you can tailor it—firm for grilling, soft for curries, crumbly for bhurji or fillings. Who says DIY can’t taste gourmet?
If you’re worried about cost: in 2025, a gallon of milk costs about $4 on average in the US (prices do shift!), while a pound of decent paneer can easily run $8-10 at specialty grocery stores. You do the math—homemade wins in both price and freshness.
Step-by-Step Paneer Making and Yield Maximization
Alright, time to get hands-on. Making paneer isn’t just a science—it’s an art. But to maximize your yield from that gallon, there are some pro tricks. Here’s a classic process, adapted for the home chef who wants the best results, every time.
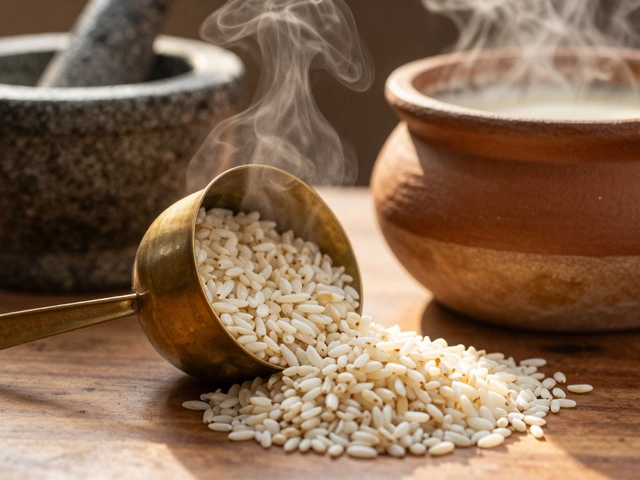
- Choose quality milk. Don’t cut corners—use whole milk, preferably local and fresh. Avoid UHT or shelf-stable milk, which won’t yield good curds.
- Pour your milk into a large, heavy-bottomed pot. Stir constantly over medium-high heat, scraping the bottom often (no burnt milk for paneer fans!).
- When the milk just comes to a rolling boil—frothy, and high—turn the heat off. Add your acid (start with 1/4 cup fresh lemon juice or 1/4 cup white vinegar, diluted with a little water). Pour in a little at a time, stirring gently.
- As soon as the curds separate from the bright yellow-green whey, stop adding acid. If you don’t see clear separation after a minute, add another tablespoon, but avoid flooding the milk with acid. Too much can yield tough paneer.
- Let the pot stand for two or three minutes. The curds don’t need to be rushed—you’ll get a higher yield if you allow gentle separation.
- Line a colander with a large double-layer of cheesecloth or a clean lint-free towel. Pour the mixture in, catching the curds. Let it drain naturally—don’t squeeze in a hurry!
- Rinse the curds gently with cold water, removing traces of acid and cooling them down. This step also keeps your paneer milky and clean-tasting, not tangy.
- Now comes the pressing. Gather the cloth corners and gently squeeze out excess liquid—just until whey stops dripping freely, but the curds are still a bit moist. Lay the bundle on a plate and top with a flat lid, weighed down with about 1-2 kg (a heavy pan or canned food will do). Leave for 20-30 minutes for soft paneer; up to an hour for firmer style.
- Transfer to the fridge (still bundled) if you aren’t using right away. Chilling further firms up the paneer, which is great for slicing or frying.
Wondering where people usually go wrong? Here’s the breakdown: overheating the milk (which makes paneer chewy), blasting it with acid, pressing it for hours (leads to a dry crumb), or using the wrong type of milk. If you’re after super soft, creamy paneer for something like rasgulla, lower the pressing time and use more acid, but not too much. You can even add a bit of cream to the milk before boiling for extra richness—old restaurant trick!
Need your paneer on the firmer side for tandoori grilling? Press a little longer and salt the curds just before pressing. Small change, big flavor upgrade.
Don’t toss out that leftover whey, by the way. It’s packed with protein. Use it in chapati dough, cook rice with it, or add it to dal or soup. No waste, more taste.

Paneer in Your Kitchen: Storing, Cooking, and Smart Tips
Now you’ve got your beautiful homemade paneer from that single gallon of milk—what’s next? First, let it cool fully before cutting. When slicing, use a sharp, thin-bladed knife, and run it under hot water for extra smooth cubes (no sticky mess). If you’re storing, keep it in fresh water in a sealed container in the fridge. Change the water every day and it’ll last up to a week. Freeze it only if you must—texture suffers a bit, but if you crumb the paneer for stuffing or bhurji, it’ll work fine after thawing.
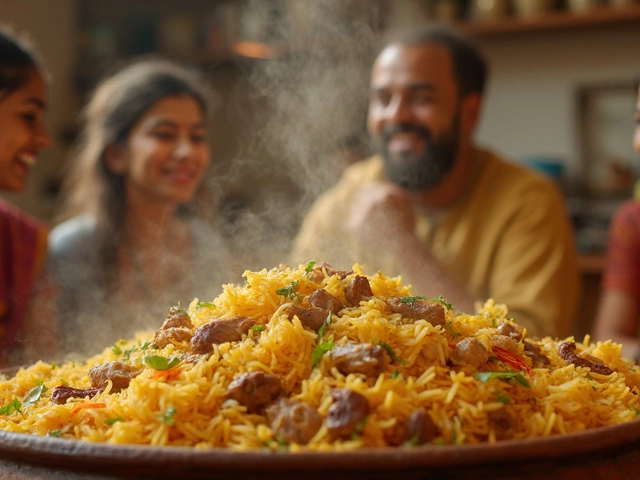
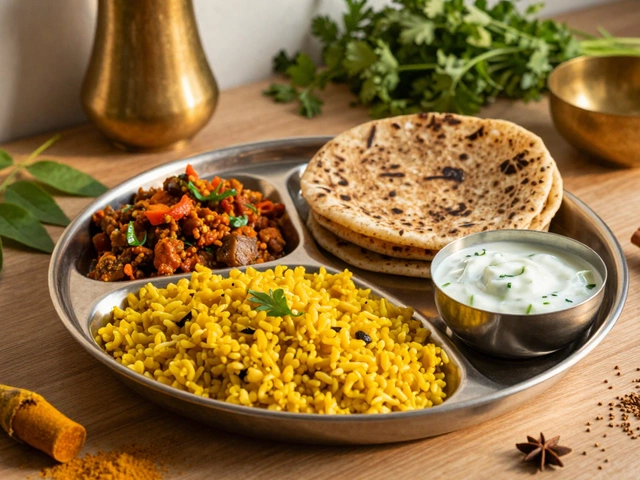
Freshly made paneer has a delicate, creamy bite. Add it to classic dishes like palak paneer, matar paneer, or that rich paneer tikka masala. For a chewy, grilled outside, fry or roast the cubes right out of the fridge—they’ll hold their shape better. Not just for curries, either: crumble into savory pancakes, sandwiches, or even a zesty salad. Leftovers? Try marinating your cubes in lemon, pepper, and herbs—hello, paneer skewer snacks at your next get-together.
Nutrition-wise, a 100 gram serving of paneer packs around 270 calories, 18 grams protein, and 20 grams fat (yes—most of it good for you if it’s from whole milk and eaten in moderation). Absolutely loaded with calcium and B vitamins, it’s a must for vegetarians and anyone who wants to add variety to their protein sources. Plus, it’s almost entirely lactose-free after curdling, so folks with mild lactose intolerance can often enjoy it worry-free.
Curious about yield hacks? If you want to boost your paneer yield from milk, try mixing a cup of fresh cream into the gallon before heating, or use milk that’s just starting to sour instead of perfectly fresh (but not spoiled!). It curdles more cleanly, pulling more solids out of your milk.
Every home kitchen turns into a bit of a science lab the first time you make paneer—so record your yield, try different pressing times, and maybe even experiment with organic versus regular milk. Soon you’ll spot all the variables that make a difference for your favorite texture and yield. Some people even add a pinch of salt or turmeric right at the pressing stage for special recipes—paneer isn’t only white, and it shouldn’t always be plain.
If you’re making a party platter, know this: a gallon of milk’s worth of paneer will serve eight people comfortably in most main dish recipes. Double that if your guests are paneer lovers!
So next time you’re eyeing up that big bottle of milk in your fridge, remember: the path to a generous, tasty block of paneer is completely in your hands. The math varies, but with the right milk and tech, you can expect up to two pounds of rich, homemade paneer every single time—no additives, no mystery, just the magic of milk transformed. Happy cooking!